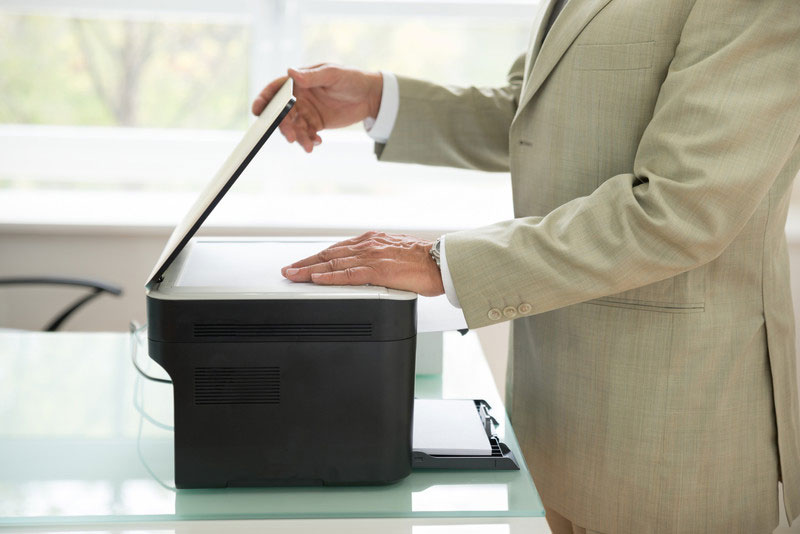
Converting your personal documents into electronic format is a great idea. Many people choose to scan at home almost all of their documents including bank statements, taxes, tax-deductible receipts, paystubs, deeds and leases, warranties, passports, family archives such as birth certificates, adoption papers, marriage certificates, death certificates, and immigration papers, academic and professional certificates, insurance forms, medical and dental records, and prescriptions. However, this involves too much paperwork and the home scanner may not be able to handle the load. Outsourcing document scanning tasks to a professional document scanning company can help scan all your personal documents and convert them into the desired file formats. Digitizing your personal documents helps reduce storage space and paper clutter in your home, allows you to access your documents from anywhere at any time whenever you need them, protects documents from various disasters including theft, flood, fire and other natural calamities, safeguards your confidential documents and go green. In addition, digitized documents will not fade over time or get torn like their paper counterparts.

If you are considering scanning your personal documents at home, then you have to take the following things into consideration. Timely scanning helps organize your files at home, thus enabling you to find exactly what you are looking for within seconds.
- Before starting to scan, you should go through the documents and throw out items you will never need. This makes the task less challenging.
- It is essential to scan items as soon as you get them. This helps eliminate paper piling up.
- Prior to scanning, you should clean the scanner glass and make sure it is free of dirt, smudges or particles as these could interfere with the scan. You need to prepare the documents or photographs for scanning by removing paper clips, staples, tape and other items. You should also remove dirt, smudges or other particles without damaging the documents or photos.
- Select the scanner settings that are most appropriate for you.
- Once the scanning is over, save your files to the hard drive of your primary home computer.
- Make sure to put everything in .pdf (portable document format) format as it is universal and is likely to last a lifetime. There are PDF reader programs available that you can also store on the disk.
- Scan documents and photos (4″X6″ and 5″X7″) at 300 dpi/ppi. Scan at 400 or 600 dpi in order to enlarge 4″X6″ and 5″X7″ photos to 8″x10″ or greater.
- Slide trays are available for flatbed scanners and standalone slide scanners are also available. As slides are smaller than prints, it is essential to scan at a higher dpi/ppi rate, around 1900 dpi.
- Give descriptive file names to scanned photos, this will help you to quickly identify them.
- You need to create and organize a folder within the folder structure on your computer in which to store the files.
- You need to create at least two copies of your collection and save one copy on your computer and save the other copies on CDs, portable hard drives, thumb drives or online storage.
- It is best to store copies in different locations. So if disaster strikes one location, the remote copies of your collection will be safe. Transfer your scans to a current storage medium every five to seven years.
- You should keep everything well organized and consistently named; this will help you to locate any file quickly.
- You can use cloud storage systems, if you are comfortable storing your personal papers online.
- Use multifunction printers (or MFPs) with an automatic document feeder to scan documents.
- Use the feed function as much as possible, if you have a stack of papers to digitize.
- You should scan tax forms all at once and make copies of insurance certificates and deeds at the same time.
- You must treat fragile documents separately.
- Receipts should be taped to standard-sized paper, and group together relevant receipts. Write or type at the top of the paper what they are for.
- You can also use smartphone scanning apps such as Scanbot, CamScanner, Doc Scanner, Office Lens or Adobe Scan. All these apps are quick and will automatically trim to size the images and whiten them nicely. In addition, the apps export the images directly to cloud storage or email.
There are many steps involved in scanning a document and you need to take great care while scanning each document. You need to purchase a quality scanner when you are scanning on your own. A good scanner can cost you a lot of money and so you have to choose one carefully giving due consideration to its features and functionality. Scanning on your own could consume considerable time and effort. Instead, outsourcing your document scanning task reduces the costs and helps save time. It is less expensive than a do-it-yourself approach. With advanced equipment and high-end software, professional document scanning companies can transform the printed files into various formats such as TIFF, JPEG, GIF, PDF and others. You don’t have to buy equipment and software for scanning documents. In addition, outsourcing allows you focus on your core activities.


