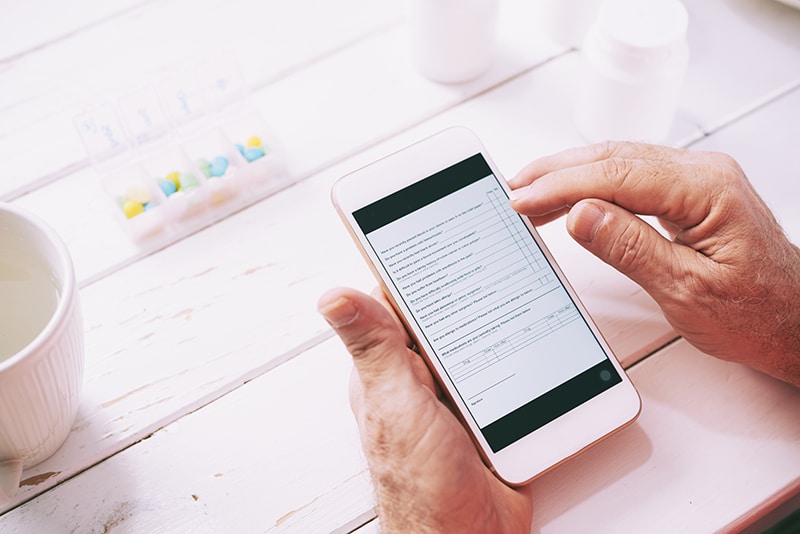
Digitizing paperwork helps to organize and store important documents without the need for physical storage space. In this era of advanced mobile technology, the capabilities of smartphones have transcended traditional communication and entertainment functions. One intriguing question that often arises is whether it’s possible to scan files using an iPhone. The answer, fortunately, is a resounding yes. Using the advanced camera technology embedded in modern iPhones, users can transform their devices into portable document scanners. This innovation has not only revolutionized the way we handle paperwork but also eliminated the need for bulky scanning equipment. For digitizing bulk files, you can rely on an experienced document scanning company. Scanning files with an iPhone provides a modern, efficient, and flexible approach to file management, offering a range of benefits for both personal and professional use. With your iPhone always at hand, document scanning becomes an easier task. It allows you to scan records wherever you are without the need for dedicated digitizing equipment.
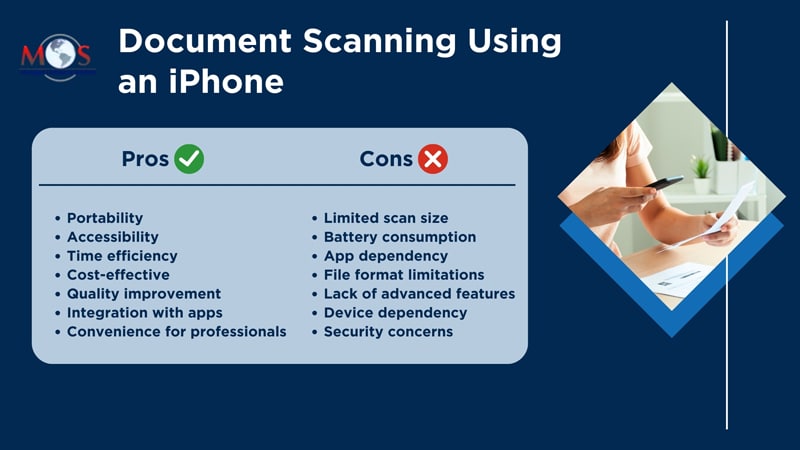
Pros and Cons of Document Scanning Using an iphone
Pros
- Portability: The ability to scan files on the go, anytime and anywhere, due to the portability of iPhones.
- Accessibility: Instant access to scanned data directly from your phone, facilitating quick reference and sharing.
- Time Efficiency: Swift and user-friendly digitizing processes save time compared to traditional methods.
- Cost-effective: Eliminates the need for a dedicated scanner, reducing hardware costs.
- Integration with Apps: Seamless integration with various apps, allowing easy storage, sharing, and organization of the scanned documents.
- Quality Improvement: High-quality cameras in modern iPhones ensure clear and detailed scans.
- Convenience for Professionals: Particularly beneficial for professionals on the move, providing a convenient solution for managing documents.
- Environment-friendly: Supports a paperless approach, contributing to environmental sustainability.
- Security: Scanned records can be securely stored utilizing cloud services, providing backup and protection against data loss.
Cons
- Limited Scan Size: The physical size of the iPhone restricts the scan of large files compared to traditional scanners.
- Battery Consumption: Extensive scanning activities may lead to increased battery consumption, impacting overall phone usage.
- App Dependency: Users might be dependent on specific apps for scanning, which could limit customization options.
- File Format Limitations: Some scanning apps may have limitations on the file formats supported, potentially impacting compatibility.
- Lack of Advanced Features: Compared to dedicated scanners, iPhones may lack certain advanced features such as double-sided scanning or automatic document feeders.
- Security Concerns: Storing sensitive files on a mobile device could pose security concerns if the device is lost or stolen.
- Learning curve: Users may need to learn the features and functionalities of scanning apps, which could take some time initially.
- Device Dependency: Digitizing capabilities are contingent on the iPhone’s camera functionality, and any issues with the camera may impact scanning quality.
Steps to Scan a Document with an iPhone
Scanning a file with your iPhone is a straightforward process. Here are the steps using the built-in Notes app, which provides a convenient feature:
-
- Open the Notes App
Image Source
Locate and open the “Notes” app on your iPhone.
-
- Create a New Note
Tap on the “+” symbol to create a new note.
-
- Access the Scanning Feature
Within the new note, tap on the camera icon located above the keyboard.
-
- Choose “Scan Documents”
From the menu that appears, select “Scan Documents.”
-
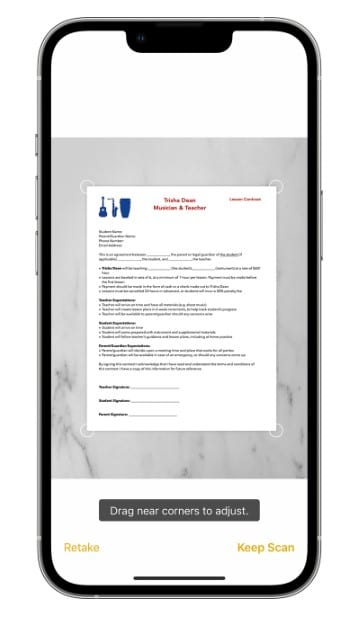
- Position the Document
Align your iPhone’s camera over the file. The app will automatically detect the edges of the document and capture it.
-
- Capture the Document
Tap the shutter button to capture the file. If needed, you can manually adjust the edges to ensure a clean scan.
-
- Adjust Settings (Optional)
The app provides options to adjust the color, crop, or rotate the scanned file. You can make these adjustments as needed.
-
- Save the Scan
Once you’re satisfied with the scan, tap “Save” to store the document in your note.
-
- Additional Scans (Optional)
If you have more pages to scan, repeat the process. The app will automatically append additional scans to the same note.
-
- Save or Share the Note
After completing all scans, save the note. You can also share it by tapping the share icon.
This method in the Notes app provides a quick and efficient way to scan files using your iPhone’s camera. Alternatively, there are third-party scanning apps available on the App Store that offer additional features and customization options for document scanning.
Save as PDF
To save the scanned document as PDF, share the file or save it on your iPhone. You can do this by tapping and holding the scanned page and click on Share. This will help you share the document through the app on your iPhone, save it to Files, or upload it to Google Drive. The scanned page will be shared as a PDF file. You don’t need to do any extra work or install any third-party application.
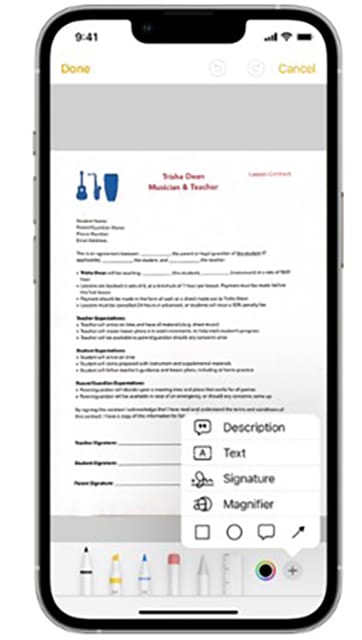
To sign the document, you can use the Markup tool in the Notes app. Open the Notes app and tap the document in the note. Click on the Share button at the top-right corner and then choose Markup and click the + icon at the bottom right. Select Signature and add a saved signature or create a new one. Once you are done, you can press “Done” to save the changes.
Read our blog on How to Scan Documents Using Your Smartphone
While document scanning using an iPhone offers numerous advantages in terms of convenience and efficiency, users should be aware of the limitations and potential challenges associated with this approach. An experienced provider of reliable document scanning solutions can help businesses meet their digitization needs within the required turnaround time.
Say goodbye to paperwork hassles!
Experience the future of document scanning!


